ESP-32 Flight Datalogger – 3D Printing Parts
Creating a nose cone for a pylon seems trivial. There are numerous tutorials and instructional videos on crafting. In fact, there is so much material available, a large amount of time could be used just reviewing a portion of what’s available. Time is not trivial though, so finding proven method is what motivated the use of 3D printing.
3D printing became the basis for creating the hardware that was hard to find. There is an open community of designers that have shared the objects they have developed in exchange for access to objects from that same community. One such community is Thingiverse, which as of this writing is available to the public.
Sourcing a sampling of nose cones took much less time than reviewing instructional videos on how to build them using conventional methods. Printing the first object in its unedited form took less than 5 minutes to complete. That object was scaled for a much smaller application. Upscaling it for the 38mm pylon was a simple matter of making that parameter change in the 3D printing software.
The object did take longer to complete. It became obvious that upscaling was not the method to use. The resulting object was much heavier due to all aspects of the object increasing in size. The diameter was correct, but the wall thickness was not. The durability of wall thickness failed to match the weight penalty.
The next object was a downscale from a 76mm application. This only required a 50 percent reduction in scale. The printed object was substantially lighter than the previous object. The designer provided the object in sections, which could be assembled. However after assembly, the final object was too structurally weak for it to be useful.
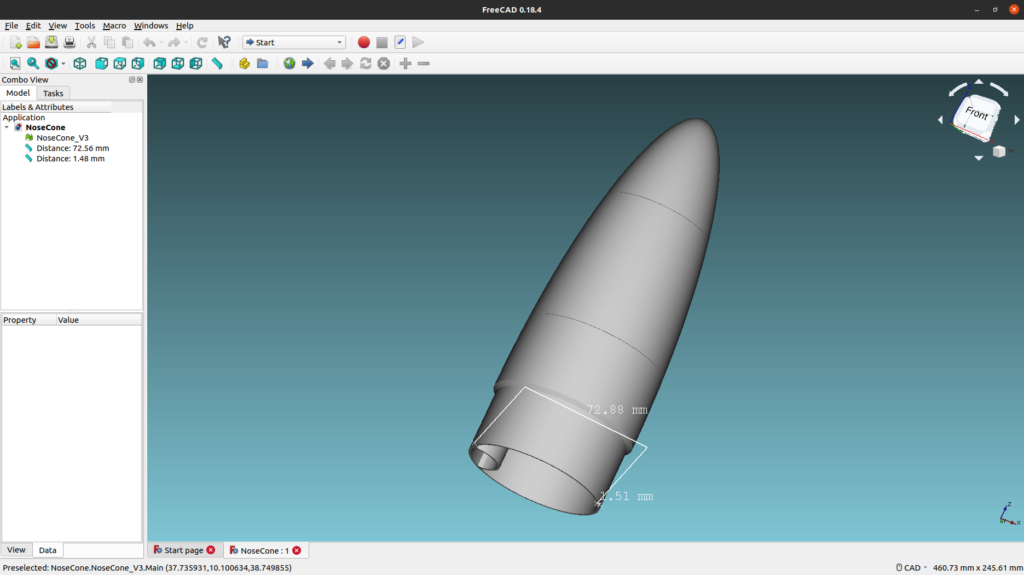
With two test objects already done, the final object had a scaling that was more challenging to match inside the 3D printing application. Luckily, the file format Thingiverse provides is well suited for an open source program called FreeCAD. Opening the object file in FreeCAD allows the user the ability to measure. This feature provided an exact measurement which could be scaled on the 3D printer.
Now with the hard to find hardware available, the project was ready to move upward and onward. The next section will cover the flight results.
